
How To Fit A Kitchen Worktop
July 20, 2020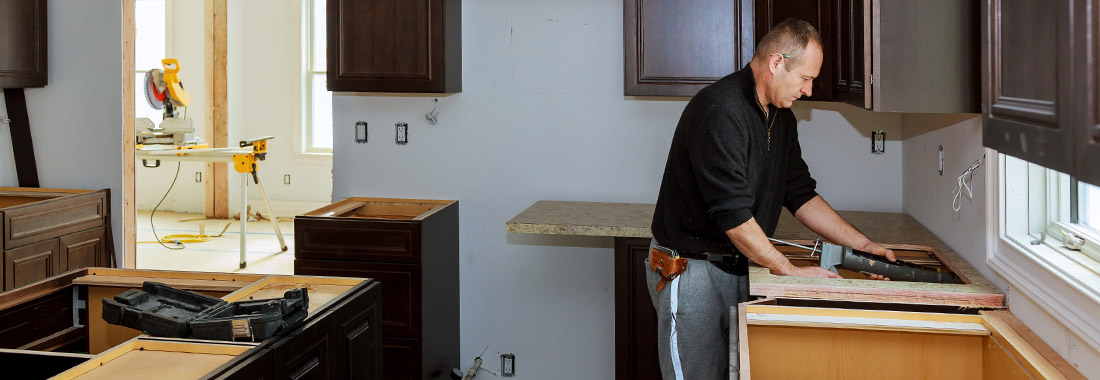
A beautifully presented and hardwearing worktop can transform the visual appeal and practicality of a kitchen. With relatively little DIY experience, fitting a new kitchen worktop can be surprisingly simple.
Most kitchen worktops are manufactured to order. Therefore you won’t need to worry about cutting a slab of material to the required size and shape yourself. Nor will a great deal of finishing be necessary, perhaps with the exception of one or two rough sides that may call for an edge banding.
Installation logistics vary in accordance with the size, shape and material of the worktop. In general, the process takes place in four stages:
Equipment to fit a kitchen worktop:
Step 1 – Take accurate measurements
Accurately measuring the surface to be covered is perhaps the most important job of all. At this stage, remember that measuring for a solid wood worktop means factoring in expansion clearance.
If any adjustments need to be made to the material you’re working with, use a reliable power saw with a suitable blade. Smooth the rough edges over with sanding blocks before proceeding.
Step 2 – Position the worktop
You’re unlikely to get through this step without an assistant, given how quality worktops can be very heavy. Position the profiled and smoothed worktop on top of the cabinets. Then move into the required position, ensuring it is held securely and evenly in place.
A head torch will come in useful for this step. It involves going underneath the worktop and choosing appropriate positions for the fasteners. Mark circles through the bracket holes and drill to the required depth. Next, screw the fasteners securely into place.
Step 3 – Seal the edges with silicone
With the worktop fixed securely in position, apply a layer of appropriate silicone sealant along the edges. Use a quality silicone gun to create an even line across the length of the worktop in its entirety, before smoothing over with a finger or smoothing tool. Remove any excess.
If you are connecting two or more worktops together with joining strips, apply a thin layer of silicone sealant along the join before slotting the strip into the gap and pressing firmly into place.
Step 4 – Apply edge banding
The final step of the process is to cover any exposed rough edges with appropriate banding. Prefabricated countertops usually ship with strips of coordinating banding, which can also be purchased separately if required.
If the edge banding already has an adhesive strip, it is simply a case of removing the protective cover and pressing it into place. Sometimes this requires the addition of heat, if specified by the manufacturer. Alternatively you may need to apply a thin layer of appropriate adhesive, before positioning the edging.
Additional tips for fitting kitchen worktops
- Be as precise as possible when taking measurements and keep a close eye on angles
- Experiment by cutting a small piece of the material first to get a feel for it
- Ensure cut-outs for hobs are at least 60mm from the back and 50mm from the front of the worktop
- Use a layer of heat insulation tape around the hob cut-out
- Never attempt to lift or position a heavy kitchen countertop single-handedly
- Factor in additional clearance requirements due to temperature changes and humidity
- Always read the manufacturer’s guidelines before getting started
- Order your materials pre-cut if possible to minimise the workload
- Use appropriate protective equipment when cutting and sanding worktops
If in doubt, consult with a professional before starting your kitchen worktop fitting.

